Table of contents
No headings in the article.
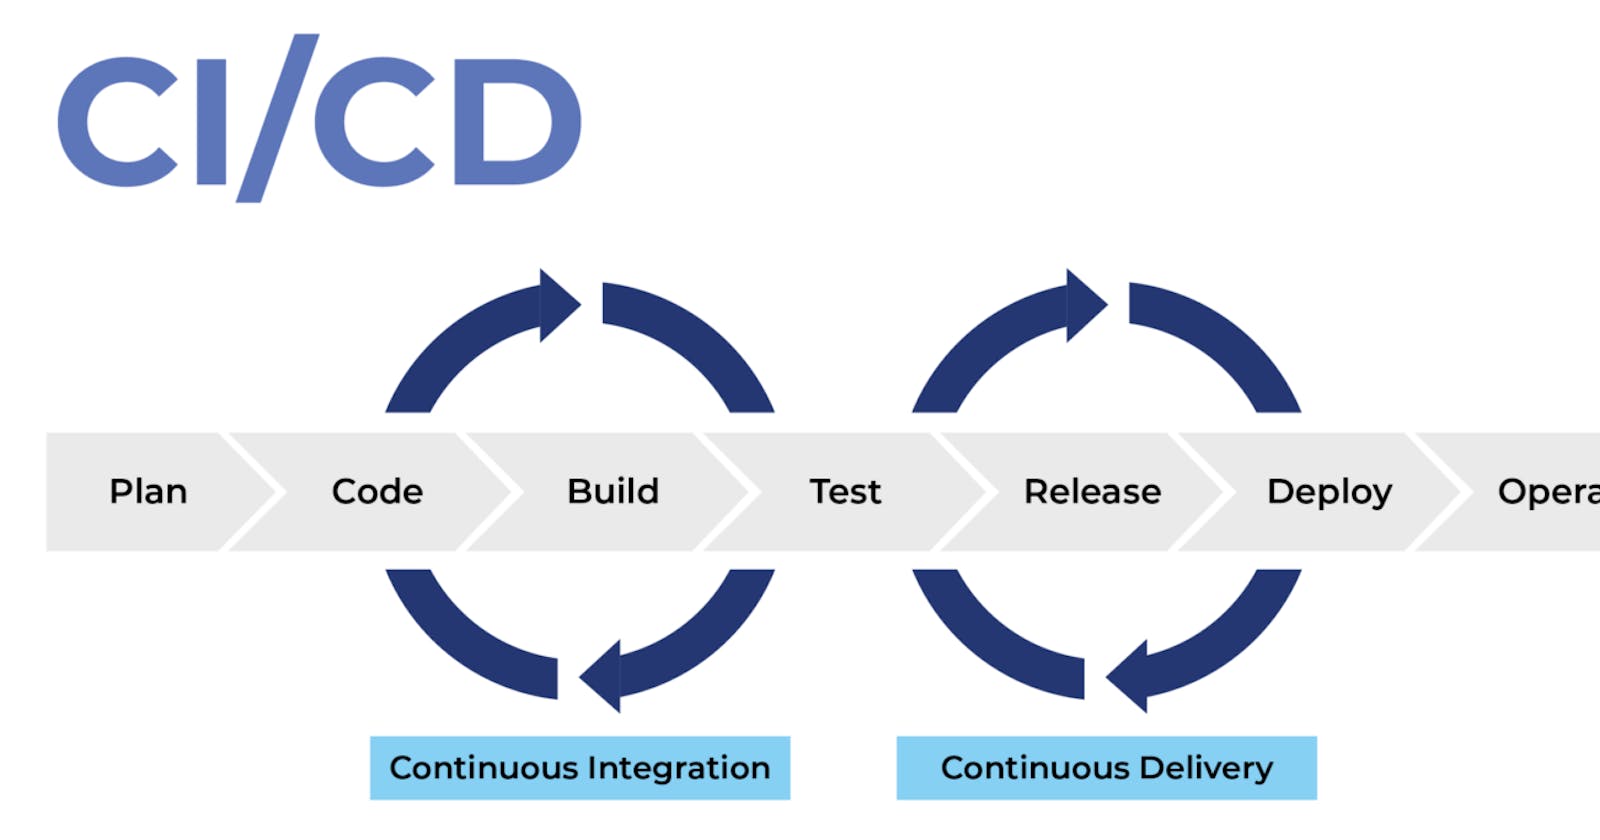
Continuous Deployment is a software development practice that involves automatically releasing every change made to a codebase to production. This is made possible by using a CI/CD (Continuous Integration and Continuous Deployment) pipeline. A CI/CD pipeline is a set of automation tools and processes that manage the software delivery process from development to production.
In this article, we will look at the steps involved in creating a CI/CD pipeline for a simple application and how you can automate the deployment process using code examples.
Step 1: Setting up a Source Code Repository
The first step in creating a CI/CD pipeline is to set up a source code repository. A source code repository is a place where you store and manage your code. Popular source code repositories include GitHub, GitLab, and Bitbucket.
Step 2: Setting up a Continuous Integration Tool
Continuous Integration (CI) is a software development practice that involves regularly integrating code changes into a shared repository. The purpose of CI is to catch and fix integration issues early on. A CI tool helps you automate the process of building, testing, and deploying your code.
In this example, we will use GitHub Actions to automate the CI process. GitHub Actions is a CI/CD platform built into GitHub that allows you to automate your software workflows. Here's an example of a GitHub Actions workflow that builds and tests a Node.js application.
name: Node.js CI

on:
  push:
    branches:
      - main

jobs:
  build:
    runs-on: ubuntu-latest

    steps:
    - name: Checkout code
      uses: actions/checkout@v2

    - name: Install dependencies
      run: npm ci

    - name: Build and Test
      run: npm run build && npm test
Step 3: Setting up a Continuous Deployment Tool
Continuous Deployment (CD) is a software development practice that involves automatically releasing code changes to production. A CD tool helps you automate the deployment process and ensure that your code is always up-to-date in production.
In this example, we will use AWS Elastic Beanstalk to deploy the application to production. AWS Elastic Beanstalk is a fully managed service that makes it easy to deploy, run, and scale web applications and services. Here's an example of a GitHub Actions workflow that deploys a Node.js application to AWS Elastic Beanstalk.
name: Deploy to AWS Elastic Beanstalk

on:
  push:
    branches:
      - main

env:
  AWS_REGION: us-west-2
  AWS_ACCESS_KEY_ID: ${{ secrets.AWS_ACCESS_KEY_ID }}
  AWS_SECRET_ACCESS_KEY: ${{ secrets.AWS_SECRET_ACCESS_KEY }}

jobs:
  deploy:
    runs-on: ubuntu-latest

    steps:
    - name: Checkout code
      uses: actions/checkout@v2

    - name: Configure AWS CLI
      run: |
        echo '[default]' > ~/.aws/config
        echo "region=$AWS_REGION" >> ~/.aws/config
        echo '[default]' > ~/.aws/credentials
        echo "aws_access_key_id=$AWS_ACCESS_KEY_ID" >> ~/.aws/credentials
        echo "aws_secret_access_key=$AWS_SEC
Step 4: Setting up a Continuous Deployment Environment
Before you can deploy your code, you need to set up a deployment environment. A deployment environment is a place where your code will be deployed and run. This environment should be isolated from other environments to avoid conflicts and ensure that changes made to one environment do not affect others.
In this example, we have used AWS Elastic Beanstalk to create a deployment environment. AWS Elastic Beanstalk makes it easy to set up a scalable and secure environment for deploying web applications.
Step 5: Automating Deployments
Once you have set up your source code repository, CI tool, CD tool, and deployment environment, the final step is to automate the deployment process. This is done by creating a CI/CD pipeline that integrates all of these components and automates the process of building, testing, and deploying code changes to production.
In this example, we have used GitHub Actions to automate the deployment process. The GitHub Actions workflow runs whenever a change is pushed to the main branch and deploys the code to AWS Elastic Beanstalk.
Conclusion
In this article, we have looked at the steps involved in creating a CI/CD pipeline for a simple application. By following these steps, you can automate the deployment process and ensure that your code is always up-to-date in production. This will help you to catch and fix integration issues early on, improve the speed and efficiency of your deployments, and ensure that your code is always in a deployable state.
